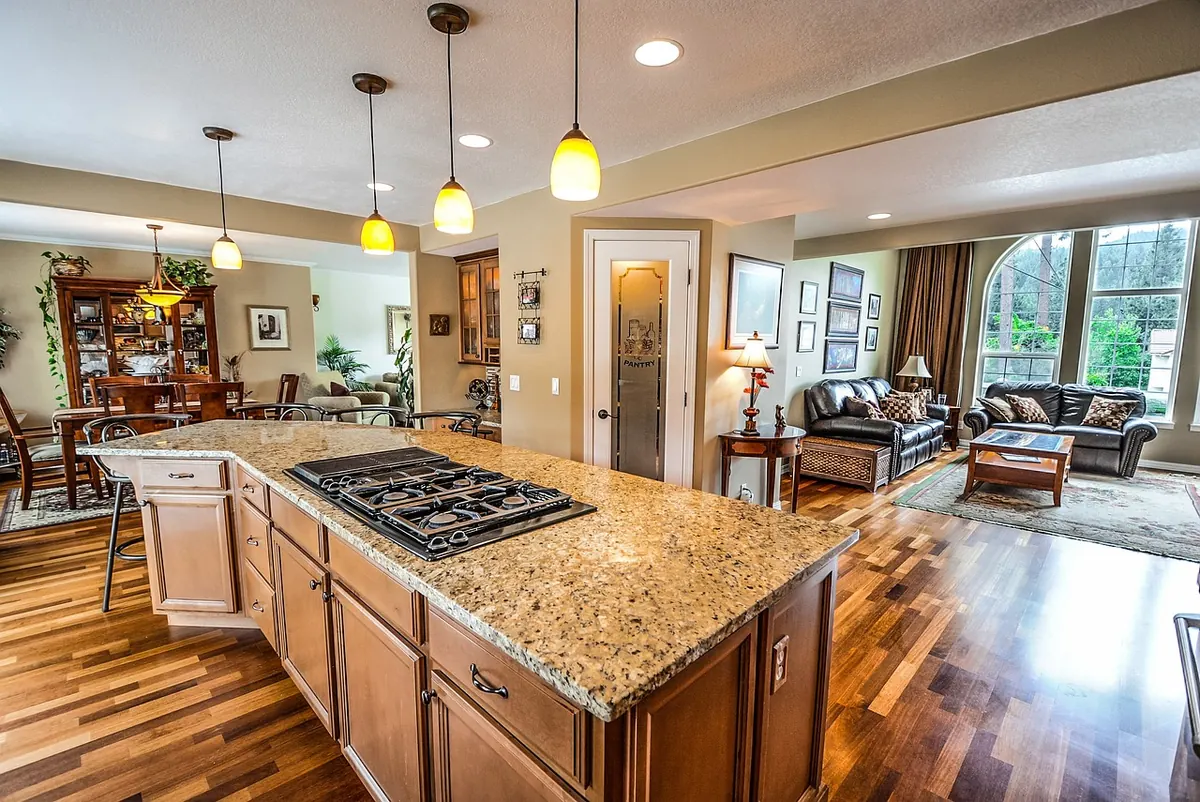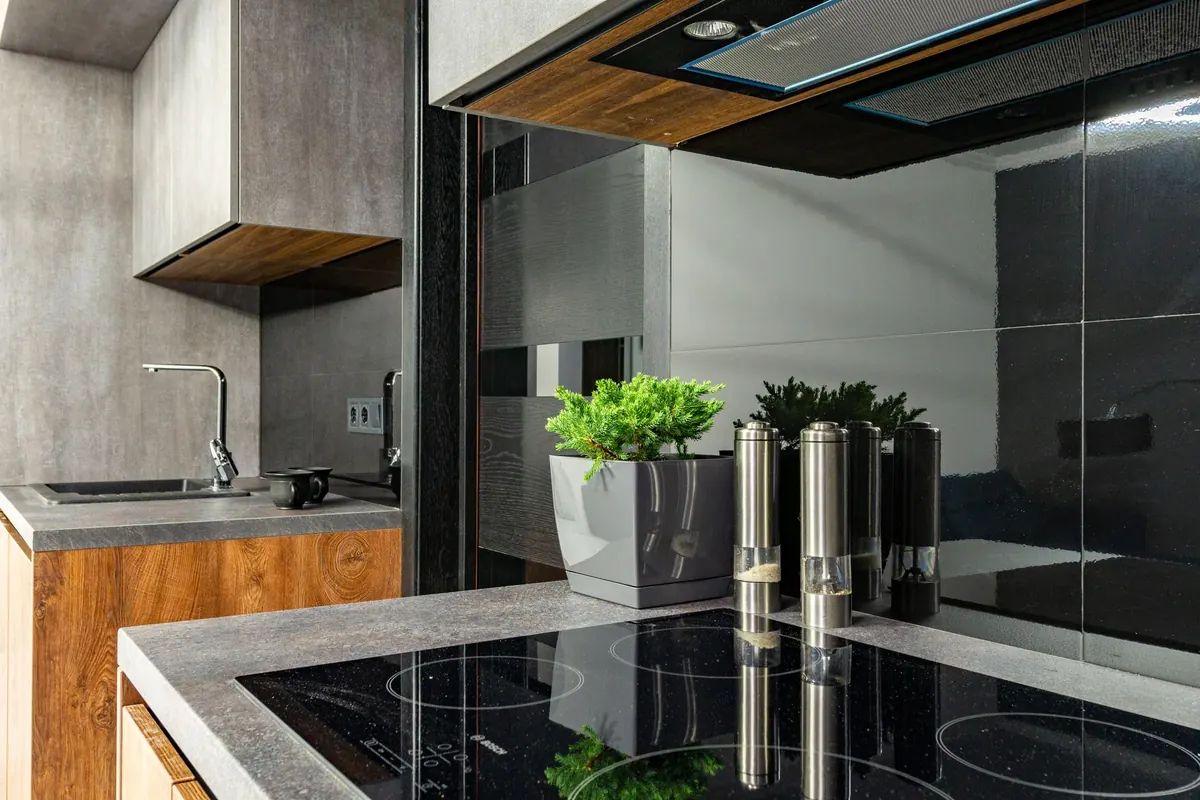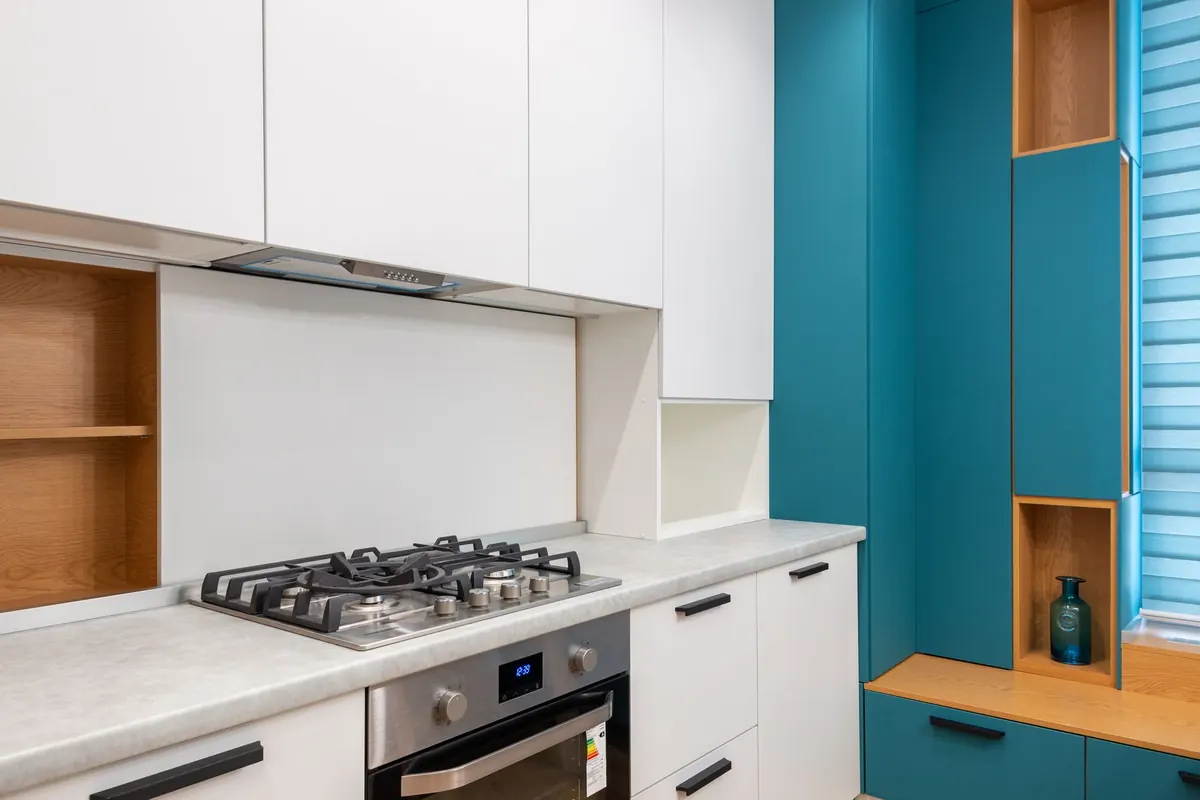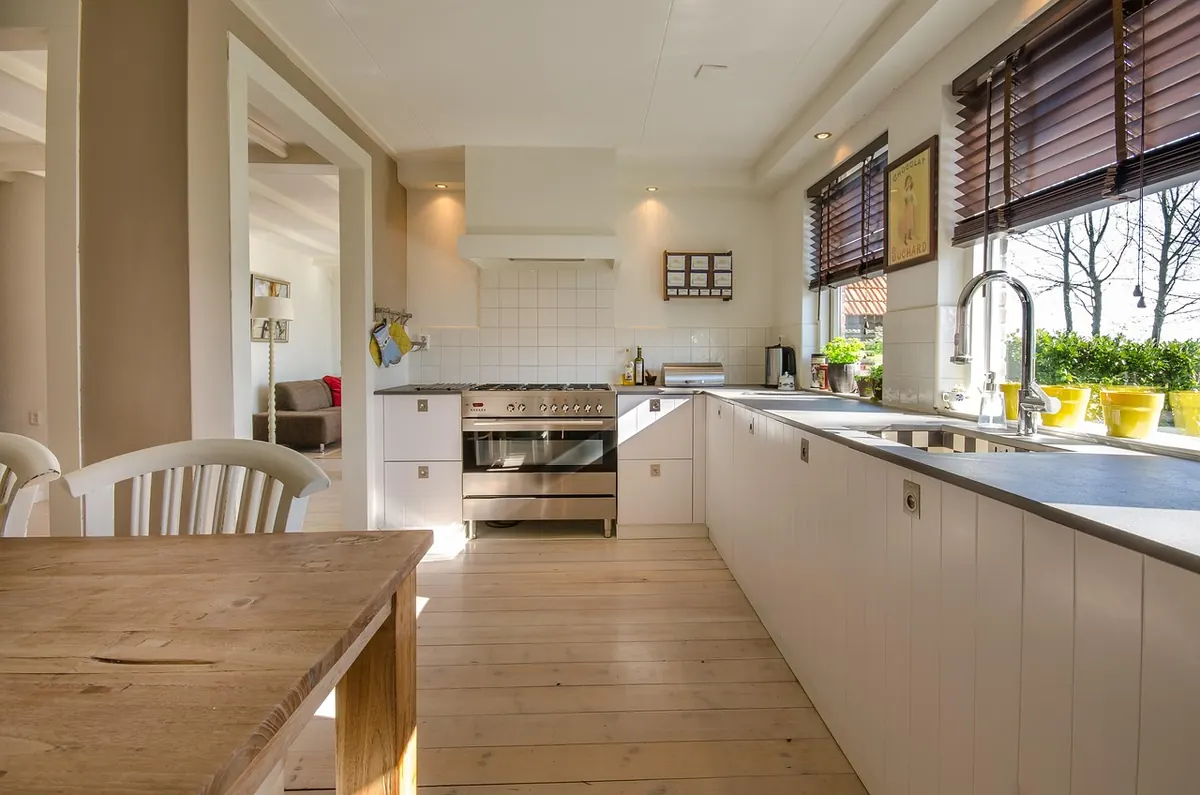
Two kitchens, same cabinets, same counters. One feels calm and easy to cook in. The other feels like a dentist's waiting room at noon. The difference is rarely the appliances — it's the lighting plan, and most plans get made in the last hour before the electrician arrives. This checklist is what to run through before that hour: fifteen points, grouped by the kind of light you're trying to create. Read it with your floor plan in front of you, mark the weak spots, and you'll avoid an expensive regret.
Points 1–4: Ambient Light Sets the Base
Ambient lighting is the general wash that lets you move through the room without squinting. It's the layer people plan first and think about least.
- Plan coverage, not fixtures. Sketch a rough grid of light across the whole floor plan before you pick a can or a pendant. Corners where you stand — the far end of a galley, the space in front of the fridge — need light as much as the island does.
- Space recessed lights at roughly half the ceiling height. On a nine-foot ceiling, that's about four and a half feet between fixtures. Tighter spacing gives a soft, even wash; wider spacing gives bright pools with shadows between them.
- Keep downlights out of your sightline. Anyone working at the sink or island shouldn't have a bright source in the corner of their eye. Pull the row back from the counter edge instead of centering it directly over where a person stands.
- Add one warm layer at eye level. A pendant over the island, a sconce by a window, a small fixture over the table. Overhead-only light flattens faces and makes a kitchen feel like a workshop rather than a room.
Points 5–10: Task Light Where Your Hands Work
Task lighting is the layer you'll notice every single day. If you only plan one, plan this one.
- Light the counter, not the floor. Mount undercabinet strips toward the front edge of the cabinet underside so light falls across the work surface and your hands, rather than bouncing off a glossy backsplash and straight into your eyes.
- Run undercabinet lighting the full length of every counter run. Including the short ones. An eighteen-inch dark gap beside the range will irritate you more than you expect.
- Give the sink its own light. Washing up is the task you do most often, and it's usually the one done facing away from the room's main fixtures.
- Supplement the range hood. Hood lights are typically weak and aimed straight down. Add a ceiling fixture positioned so you aren't casting your own shadow across the cooktop.
- Light inside the pantry. A simple strip with a door switch turns a black hole into usable storage. If you have deep drawers with tools in them, consider the same trick.
- Treat tall cabinets and the fridge as shadow-casters. Walk your plan with the obstructions in mind. A fixture hidden behind an open pantry door does nothing for the corner beside it.
Points 11–12: Accent Light Adds Depth
Accent lighting isn't decoration for its own sake. It's what stops a room from reading as flat and corporate.
- Point it at what you actually look at. Open shelving, a glass-front cabinet, a textured backsplash, a piece of art at the end of the room. A small directional fixture aimed at a wall costs little and changes the whole evening mood.
- Give accent fixtures their own switch. Being able to run only the accent layer — after dinner, with the dishes done — is what makes the room feel finished rather than merely functional.
Points 13–14: Color Temperature and CRI
This is where well-planned kitchens still go wrong, and it's the cheapest thing to fix.
- Pick one color temperature and stay with it. Around 2700K reads warm and traditional; 3000K is slightly crisper and suits modern finishes. Anything above 3500K starts to feel clinical in a home. Mixing a 2700K pendant with 4000K downlights in the same sightline is the most common mistake in kitchen lighting, and it looks like an accident even to people who can't name what's wrong.
- Look for a high color rendering index. Bulbs rated 90 CRI and above make tomatoes look red and herbs look green. Ordinary 80 CRI lamps drain the color out of food, which matters in the one room where you're evaluating ingredients by eye.
Point 15: Dimmer Placement and Compatibility
Switches and dimmers are the part of the plan you live with constantly, so spend a few extra minutes on them.
- Put each layer on its own dimmer so ambient, task and accent can be controlled independently.
- Place the main control at the entry point you use most — usually the door from the hallway or the garage, not the one from the dining room.
- Keep the undercabinet dimmer at the counter, within reach of where you stand to cook.
- Match the dimmer to the lamps. Many LEDs flicker or buzz on old dimmers, so choose a dimmer specifically rated for the bulbs and drivers you're installing, and confirm compatibility before the order goes in.
- Check that you can turn on just one layer without crossing the room. A 6 a.m. kettle-and-out trip shouldn't require the full ceiling wash.
Walk the Plan Before You Order
Stand in the kitchen at dusk with the ceiling lights off and do the things you actually do: fill the kettle, chop an onion, read a recipe card. Note where your hands fall into shadow and where the light hits your eyes instead of the counter. Then walk the switches and ask two questions — can I reach this from where I naturally stand, and can I light only the part of the room I need right now?
Adjust the plan on paper. Moving a fixture on a drawing costs nothing; moving one after the drywall is up costs real money, and you'll think about it every evening for years.
Photo: ClickerHappy / Pixabay