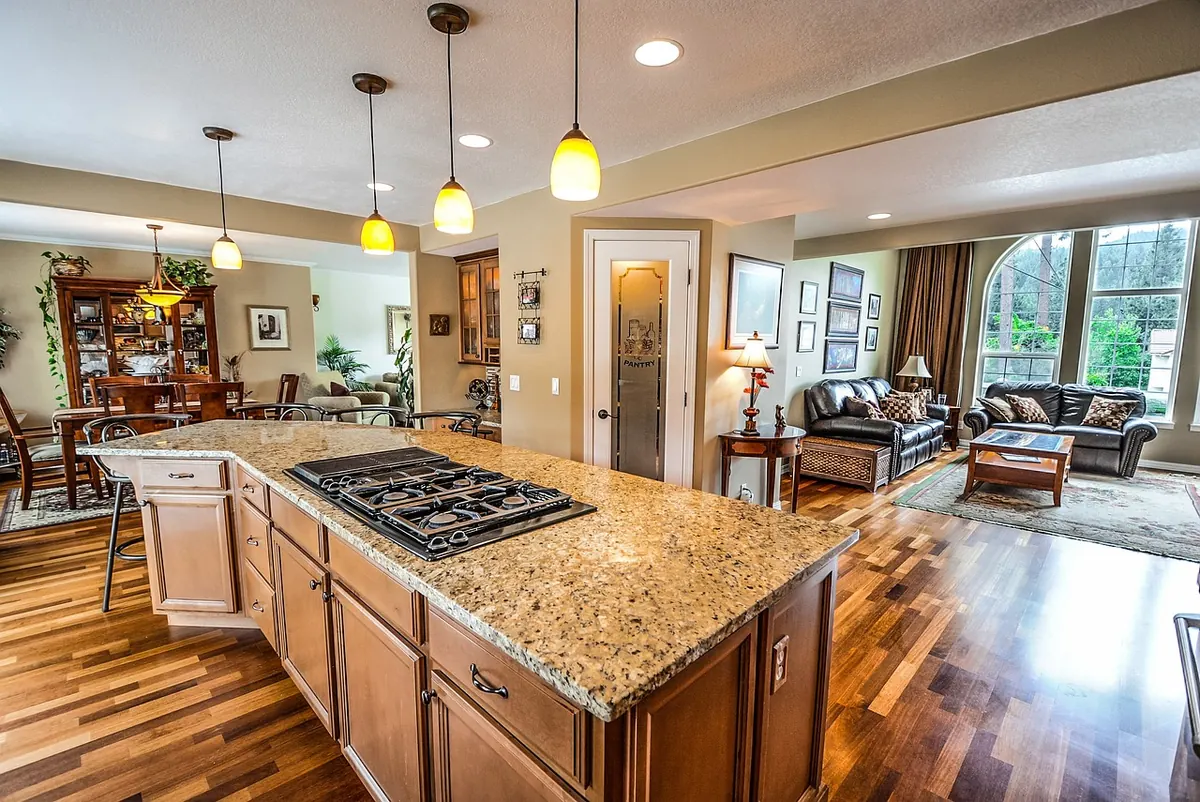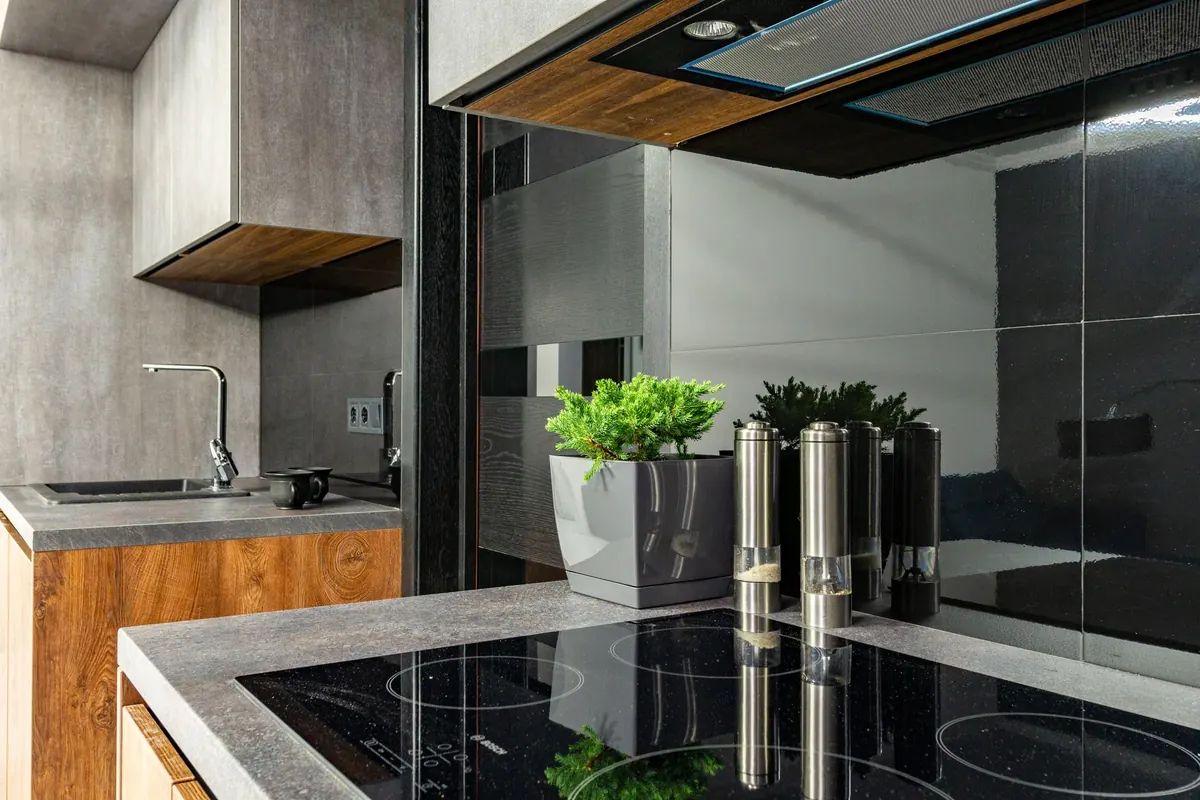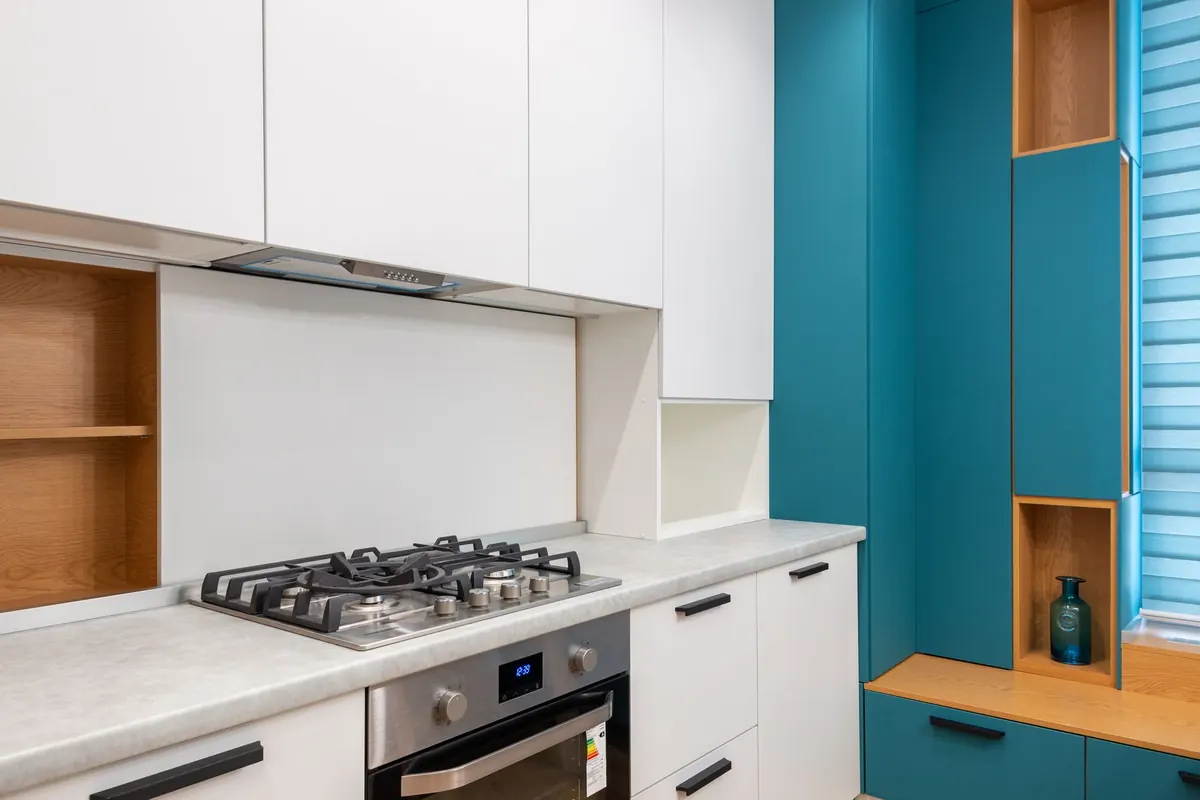
Spring light has a way of exposing everything in a kitchen. The scratched cabinet door. The bulb that died in February and never got replaced. The stretch of counter that has become a permanent landing pad for mail and charging cables. None of it calls for a contractor. Most kitchens can be made to feel noticeably newer in a weekend or two, for a fraction of what a remodel costs — and the work comes in small pieces you can do after work.
These eight updates are ordered roughly by payoff. Do all of them and you have a different room. Do three and you still have a kitchen that looks cared for, which is most of what people notice anyway.
1. Paint the Cabinets
Nothing changes a kitchen's mood like cabinet color, and paint is the cheapest way to get there. The catch is that cabinets take abuse, so the prep matters more than the color choice. Work in stages so you still have a functioning kitchen: paint the upper doors one weekend, the bases the next.
- Remove doors and drawer fronts and label every one with painter's tape and a number.
- Degrease everything with a strong cleaner — kitchen cabinets carry a film of cooking oil that paint will slide off.
- Scuff-sand with fine grit, then wipe away the dust.
- Apply a bonding primer. This is the step people skip and later regret.
- Brush the recessed panels and roll the flat surfaces with two thin coats of a cabinet-grade paint, sanding lightly between coats.
- Let the finish cure for several days before hanging doors and slamming drawers.
Worth knowing: painted laminate and thermofoil cabinets chip easily, so consider new door fronts or removable film instead. And if you are renting, check your lease before picking up a brush.
2. Swap the Hardware
New knobs and pulls can make builder-grade cabinets look deliberate, and the swap takes an afternoon. Measure the distance between the screw holes on your existing pulls — common spacings are 3 inches, 96mm and 128mm — and buy to match so you are not drilling new holes. If you want a different spacing, use a drilling template and mask the spot with tape to stop the veneer splintering.
On finish: pick one dominant metal and let a second appear only in small doses, such as a brass pull with a black knob. Store the old hardware in a bag. Renters will want it back, and future owners of a vintage kitchen often do too.
3. Layer the Lighting
Kitchens are usually lit by one grim overhead fixture. Fix the layers instead. Under-cabinet LED strips make counters usable and cabinets look custom; plug-in versions with adhesive backing need no wiring. Swap any cool, blue-white bulbs for warm white in the 2700K to 3000K range — it flatters wood, stone and paint alike. Add a dimmer on the main switch if the fixture allows it, and a small pendant over a sink or island if you have a ceiling point for it.
Anything beyond changing bulbs or a fixture on an existing box means new wiring. That is electrician work, and worth paying for.
4. Try a Removable Backsplash
Peel-and-stick tile, adhesive tile mats and beadboard panels all install over clean, smooth, painted drywall with a craft knife and a smoothing tool. On a plain wall between counter and uppers, they read as a real upgrade. Two cautions: skip them directly behind a range, where heat and grease shorten their life, and press every edge down hard, because the failure point is always the seam.
5. Replace the Faucet
A faucet is one of the few fixtures you touch every single day, so an old dripping one dates the whole room. Shut off the supply valves under the sink, disconnect the lines, and remove the old fixture with a basin wrench. Before installing, look at the shutoff valves and supply lines — if they are corroded or the valves will not turn, stop and call a plumber rather than forcing them. A new faucet is a satisfying half-day job; a flooded cabinet is not.
6. Soften the Room
Hard surfaces everywhere make a kitchen feel cold. A washable runner with a non-slip pad under the work zone, a cafe curtain on a tension rod, cushions on hard stools, and a couple of potted herbs on the sill all add warmth for very little. Lemon balm, mint and basil handle a sunny window well. Keep anything on open shelving away from the range, where a fine coat of grease settles on everything.
7. Edit the Counters
Before buying anything else, empty the counters completely, wipe them down, and put back only what you use most weeks. Group the survivors on one tray — oil, salt, pepper, a spoon rest — and give each zone a job. The area by the fridge holds a bowl for produce; the corner by the sink holds soap and a drying rack. Clear counter space reads as expensive, and it costs nothing.
The Order That Saves You Rework
Do the messy work first. Declutter and clean, then paint, then add hardware once the paint has cured. Lighting and the backsplash can happen any time. Save textiles, plants and counter styling for last, when the dust has settled and you can see what the room still needs.
Set a number before you shop and spend it in this order: paint, lighting, hardware, everything else. If your budget covers only one project, paint the cabinets. It carries the whole room. And when a job touches wiring, gas or water lines you are not confident about, hire someone qualified — the money you spend on a professional is usually less than the cost of undoing a mistake.
Photo: Couleur / Pixabay